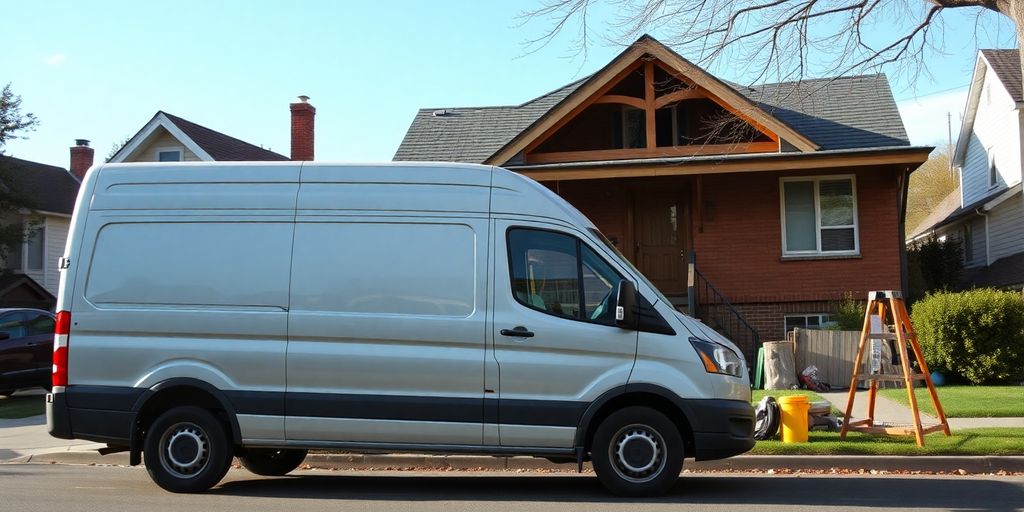
Dreaming of a van conversion but don’t want to commit to buying a whole van just yet? Maybe you’ve got a big DIY project planned for your home and need something sturdy to haul materials. Whatever your reason, **weekend DIY van hire** is a brilliant option for getting the job done without the long-term commitment. It’s perfect for those weekend warrior projects, letting you try out van life or tackle that renovation list.
Key Takeaways
- When choosing a van for conversion, think about how you’ll use it – for city parking, off-grid adventures, or full-time living. Consider space, comfort, and whether you need 4×4 capabilities.
- Budgeting is key; aim for a split between the van purchase and the conversion itself, and always add a bit extra for unexpected costs. Renting a camper first can help you figure out what you really need.
- Planning your project with tools like Notion or Trello can save time and stress. Lay out your conversion, create a supplies list, and set a realistic timeline, remembering to add a buffer for delays.
.
Choosing Your Weekend Warrior Van
Right then, first things first. You’ve got the itch to convert a van, maybe for weekend getaways or even a bit of a longer escape. But before you get all excited about fancy layouts and solar panels, we need to talk about the van itself. This is the foundation of your whole project, so picking the right one is pretty important. Don’t just grab the first thing you see!
Budgeting Your Van Conversion
Let’s get real about money. Your budget isn’t just for the van; it’s for everything that comes after. Think about the van itself, then add in materials for the conversion – insulation, wood, paint, all that jazz. Plus, you’ll need tools, maybe some specialist bits like a leisure battery or a fancy fridge. It’s easy to underestimate this, so a good rule of thumb is to add a good chunk, say 30%, to your initial estimate for unexpected costs. Trust me, they always pop up.
Here’s a rough idea of what people spend:
| Van Type | Base Van Cost (£) | Conversion Cost (£) | Total (£) |
|---|---|---|---|
| Small Panel Van | 5,000 – 10,000 | 3,000 – 8,000 | 8,000 – 18,000 |
| Medium Panel Van | 8,000 – 15,000 | 5,000 – 12,000 | 13,000 – 27,000 |
| Large Panel Van | 12,000 – 20,000 | 7,000 – 15,000 | 19,000 – 35,000 |
These figures are just ballpark estimates, mind you. Your actual costs will depend heavily on the van’s condition and the complexity of your build.
Finding a Solid Used Van
When you’re looking at used vans, you’re basically looking for a solid, reliable workhorse. Don’t get swayed by flashy paint jobs or loads of extras you don’t need. What you do need is a van with a good history. Check the service history and the logbook – does it look like it’s been looked after? See if you can find out about any previous accidents. Also, make sure there’s no outstanding finance on it, because that debt could become yours if you’re not careful. The best advice I can give is to get a mechanic you trust to give it a thorough once-over before you hand over any cash. It might cost you a bit upfront, but it could save you a fortune in the long run on repairs.
When you’re inspecting a van, keep these points in mind:
- Rust: Check wheel arches, sills, and the chassis. Surface rust is one thing, but deep, flaky rust is a big no-no.
- Engine: Listen for strange noises, check for leaks, and see how it starts. A bit of smoke is normal, but thick, coloured smoke isn’t.
- Electrics: Test all the lights, indicators, wipers, and any built-in electrics. Flick every switch you can find.
- Tyres: Check the tread depth and look for uneven wear, which can indicate suspension or alignment issues.
- Interior: Look for damp patches, especially around windows and the roof. Smell for mould or mildew.
.
Planning Your DIY Van Conversion Project

Right then, you’ve got your van, maybe even a rough idea of what you want it to look like. Now comes the proper planning bit. This is where you stop dreaming and start doing, but in a sensible, organised way. Think of it like drawing up the blueprints for your own little mobile home. It’s not the most exciting part, perhaps, but trust me, getting this right saves a massive headache later on.
Laying Out Your Conversion
First things first, you need a solid plan for the inside. This means figuring out where everything will go – the bed, the kitchen unit, storage, maybe even a tiny loo. Sketching is your best friend here. Grab some paper and a pencil, or use some of that fancy software if you’re feeling techy. Think about the dimensions of your van and how much space each element will take up. Don’t forget to consider things like window placement and door access. It’s also a good idea to make a list of all the bits and bobs you’ll need, from lumber and screws to insulation and a fancy new sink. This list will be your shopping bible and help you keep track of costs.
Here’s a rough idea of what to think about:
- Bed: Will it be a fixed double, a rock-and-roll bed, or a pull-out? Where will it go?
- Kitchen: Sink, hob, fridge – how much space do these need?
- Storage: Cupboards, drawers, overhead lockers? Where will they fit without blocking everything?
- Seating: A comfy spot to chill is a must.
- Toilet/Shower: If you’re planning for these, they need careful placement.
.
Essential Productivity Tricks
Now, how do you actually get this done without losing your marbles? A bit of organisation goes a long way. Try breaking down the whole project into smaller, manageable tasks. A simple to-do list, maybe updated each evening for the next day, can make a big difference. Focus on one thing at a time. If you’re trying to install a cupboard, just do that. Don’t get distracted by the wiring diagram you’ll need next week. Consistency is key; even an hour or two on the van each day adds up. It’s better than trying to do a whole weekend’s worth of work in one go and ending up exhausted and frustrated.
Planning your layout and tasks properly means you’re less likely to hit a wall halfway through. It’s about working smarter, not just harder, so you can actually enjoy the process and, more importantly, the finished van.
Remember to factor in some buffer time for unexpected issues – they always pop up! A bit of flexibility in your schedule will save you a lot of stress.
Making the Most of Weekend DIY Van Hire
So, you’ve got your van, you’ve got your plans, and now it’s time to actually get stuck in. Hiring a van for your weekend DIY project can be a game-changer, especially if you don’t have the space or the long-term need for your own vehicle. It lets you tackle bigger jobs without the commitment. But how do you make sure you’re getting the most out of that rental?
Testing the Layout
Before you start drilling holes and screwing things in permanently, use your hired van as a real-world test space. Bring in some of the key components you plan to install – maybe a mock-up of your bed frame, some kitchen units, or even just cardboard cut-outs of your intended furniture. This is your chance to see how everything actually fits and feels. Does that wardrobe door open without hitting the bed? Is there enough headroom to stand up comfortably? You might find that your initial layout needs a tweak or two, and it’s much easier to make those changes now than when everything is fixed in place.
Key Considerations for Your Build
When you’re working against the clock of a weekend hire, efficiency is key. Think about how you can maximise your time and minimise hassle.
- Prep is Everything: Before you even pick up the van, have all your materials measured, cut (if possible), and organised. Laying out your tools and components the night before will save you precious hours.
- Task Batching: Group similar tasks together. If you’re doing a lot of cutting, do it all at once. If you’re wiring, try to complete all the wiring runs in one go. This reduces the setup and pack-down time for each different job.
- Have a Helper: If possible, rope in a mate. Two pairs of hands can make a massive difference, especially with lifting, holding, and general problem-solving. Just make sure they know the plan!
- Don’t Forget the Details: Things like tidying up as you go, keeping your workspace clear, and having a system for your screws and fixings can seem minor, but they add up. A clean van is a safer and more productive van.
.
Remember, the goal is to make progress on your conversion, not necessarily to finish it in one weekend. Focus on completing key stages and learning as you go. Each weekend hire is a step closer to your dream van.
Planning a weekend getaway in a hired van? Make sure you get the most out of your trip! Our top tips will help you have an amazing adventure. For more great ideas and to book your perfect van, check out our website today!
So, Ready to Get Your Hands Dirty?
Right then, hopefully, this has given you a good nudge to get started on your own van project. Whether you’re aiming for a full-blown camper or just need a bit more space for your gear, a flexi lease van really does make it achievable without breaking the bank. Remember to do your homework on the van itself, plan your build carefully, and don’t be afraid to ask for advice. It might seem like a lot at first, but seeing your vision come to life is incredibly rewarding. Happy building!
Frequently Asked Questions
How do I choose the right van for my DIY project and what should I consider?
Right then, picking the van is a biggie! Think about where you’ll be parking it – city streets or out in the sticks? If you’re after a full-time home on wheels, a higher roof is a lifesaver, especially when it’s chilly or wet. And don’t forget, insulation can eat up a bit of standing room, so a taller van is a good shout if you’re planning on heading to colder spots. It’s also a cracking idea to rent a campervan for a weekend first. You can try out different layouts and see what bits you actually need and what’s just taking up space. It’ll save you a headache and cash in the long run!
What’s the best way to manage my van conversion project and stay productive?
Getting your project organised is key! It’s a good idea to get yourself a system for notes and tasks. You could use something like Notion, which is a free app that lets you make lists of all the bits you need, plan out your timeline, and keep track of what needs doing. It’s all about staying on top of things so you don’t get too stressed. Try to break down your big project into smaller, manageable jobs and tick them off as you go. Even just working on it for a bit each day makes a massive difference!
How can I test my van conversion layout before I start building?
Before you start screwing things together, it’s super helpful to map out your layout. Use masking tape on the floor of your van to mark out where your bed, kitchen, and storage will go. If you can, try putting actual items or cardboard boxes where things will be to get a feel for the space. It really helps you see if everything fits and if the flow makes sense before you commit to building it permanently. Also, always add a bit of extra time to your project plan – things often take longer than you think!